

How to Make a Zero Clearance Throat Plate
The Working Side of the Craft
The Tools, Machines, and Thinking Behind the Work
Zero‑Clearance Throat Plates: Why They Matter
A zero‑clearance throat plate closes the gap around the blade, supports fibres at the cut line, and improves tablesaw performance on critical show‑face work. This story covers the mechanics behind cleaner cuts and the practical reasons I keep multiple plates for different blades.
BY THE END OF THIS STORY
By the end of this story, you’ll understand why a zero‑clearance throat plate is essential for clean cuts, how it reduces tear‑out, and how you can make one yourself from simple MDF — even if your saw is missing the original plate.
WHAT YOU’LL LEARN
Why zero‑clearance plates prevent tear‑out
How scoring passes and sharp blades work together
Why factory throat plates have a gap
How fibre support at the cut line improves accuracy
How to make a throat plate from simple MDF
How to fit the plate even without the factory insert
Why different blades benefit from different plates
See the full build demonstrated step‑by‑step in the video
Estimated read time: 4 minutes
The series that follows the machines, tools, workflow, and shop moments that shape how real work gets done.
Clean Cuts on Both Sides
There’s a moment in every shop when a board needs to be cut clean on both sides — no fuzz, no tear‑out, no excuses. Cabinet doors are the classic example. They’re at eye level, the material is limited, and you only get one chance to make the edge look perfect. That’s when the stress kicks in, because tear‑out always seems to show up on the pieces that matter most.
Scoring Pass and Sharp Blades
There are a couple ways to deal with this. First, use the right blade and make sure it’s clean and sharp — that’s always step one. After that, you can score the underside of the panel by lowering the blade so it cuts less than 1/8", then raise the blade and run the full cut. That scoring pass is the most reliable method for preventing tear‑out.
Why Factory Plates Fall Short
The second method is a zero‑clearance throat plate. Factory plates leave a wide gap around the blade so the saw can tilt to 45° without rubbing, and so the assembly line can adjust each table quickly. That’s fine for manufacturing, but once the table saw is in your shop and running smooth, that gap becomes a liability.
Backing Up the Wood Fibres
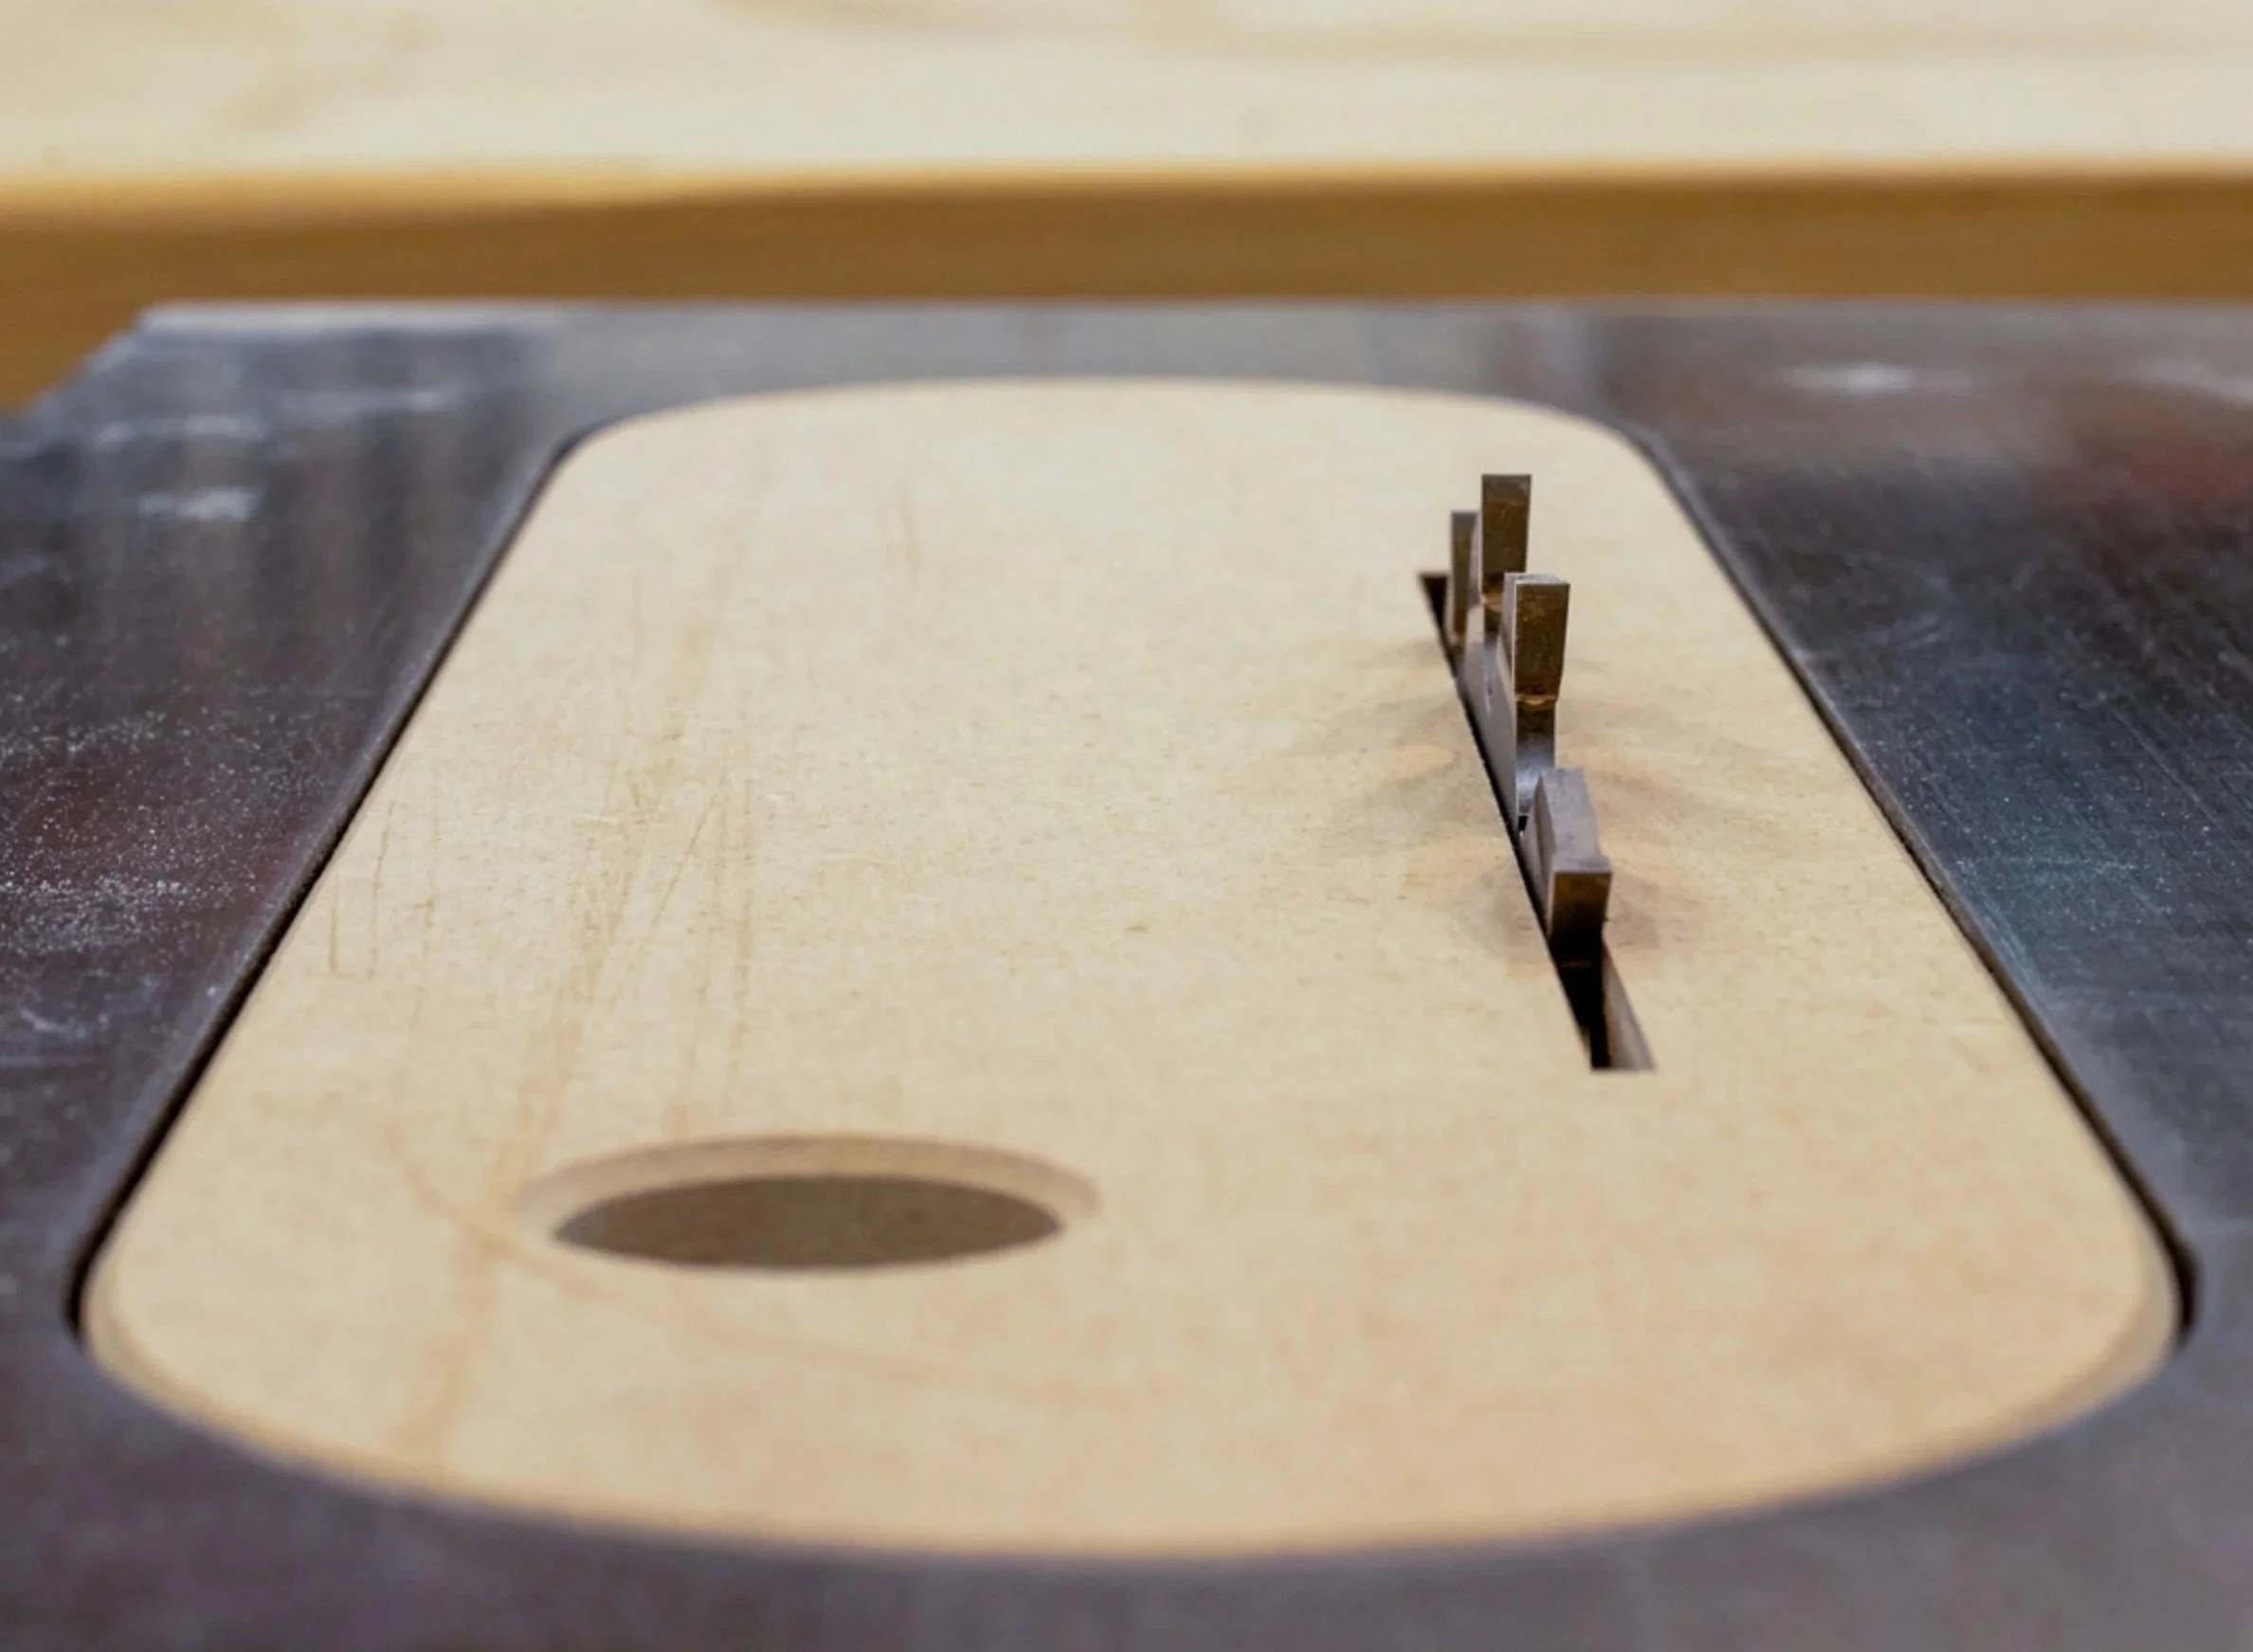
A zero‑clearance plate backs up the wood fibres right at the cut line, supporting them so the blade slices clean instead of ripping them out. It’s not magic — it works best in combination with a sharp blade and a scoring pass — but on the parts that matter, I use all three.
Safety and Dust Collection
There’s another benefit too: thin offcuts can’t fall through the opening and get sucked into the dust system. A zero‑clearance plate keeps the saw safer and cleaner. I keep different plates for different blades, and a few wider ones for the dado set.
MDF Makes It Easy
The best part is you can make them from MDF. It’s stable, easy to shape, and half the time you can make one from shop scraps.
The Video Demonstration
Several years ago — before the beard, and back when I still had some hair — I filmed a quick video showing how I make a batch of throat plates for the tablesaw. The same process works for the mitre saw. I explain the procedure clearly in the video, so there’s no need to rewrite it here. Just watch the video, subscribe, and like. I’ve been busy building this website, but more videos are coming.
VIDEO: MAKING A ZERO‑CLEARANCE THROAT PLATE
This video shows how I make a batch of zero‑clearance throat plates from MDF for both the tablesaw and the mitre saw. I walk through the full process — shaping the blank, fitting it to the saw, and cutting the slot safely. If your saw is missing its original throat plate, I also show how to create a perfect‑fitting pattern without needing the factory insert. It’s a simple upgrade that makes a big difference in cut quality, safety, and dust control.
If Your Saw Is Missing the Plate
And if your tablesaw is missing its throat plate entirely, don’t worry — the video shows how to get the pattern that fits even without the original as a template.
In Short:
It’s a simple upgrade, but it’s one of those shop habits that pays off every time you need a perfect edge.
Together, gathered in one place so the machine stories, tool reflections, and workflow moments stay connected — easy to find and easy to return to.
SHARE
The Working Side of the Craft — Connected Through Machines, Tools & Stories
If you want the stories shaped by table saws, bandsaws, grinders, fences, and jigs — the honest, noisy side of woodworking — the Working Side Of The Craft is one click away.
If you’d like to hear from me only when something big is happening — a launch, a milestone, or a major project — you can join the mailing list below.
Written by David Flather, Red Seal cabinetmaker and founder of Knotty Dave’s Fine Woodworking — a Manitoba shop rooted in heritage restoration, storytelling, and real craft.
All photos shot by David Flather — in the shop, on the road, and in the places where craft and story meet.
Related stories:
Return to: Shop Rambles
